Folded presentation decks
A cut and folded platform creates a visible face around the product. Side folds and internal supports help establish its position within the box.

Die-cut and folded solid paperboard
Custom paperboard box inserts use cut and folded solid paperboard to position products inside a carton or gift box. Develop the cutouts, support panels and removal access around the product and the actual internal dimensions of the outer box.
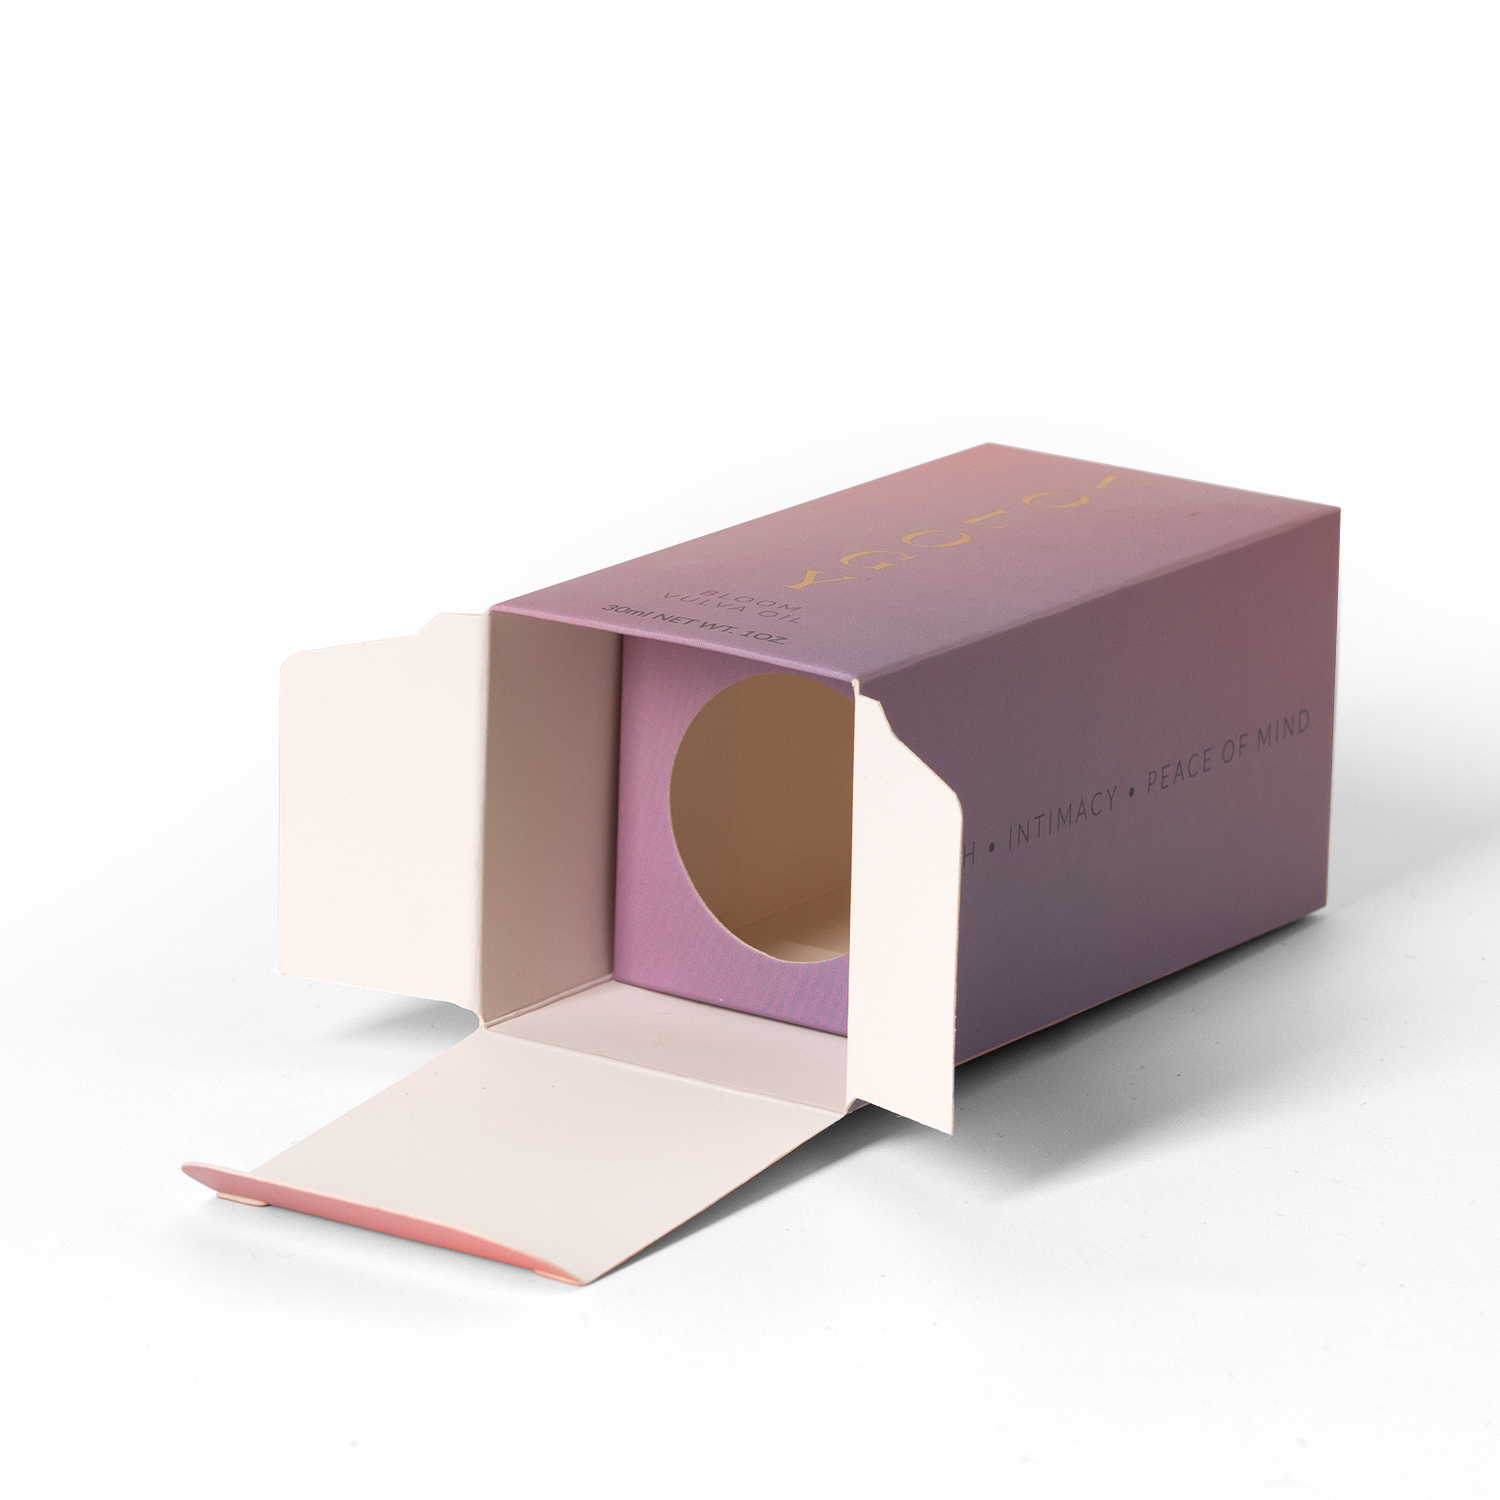
An insert can hold a product in a chosen presentation, separate items or create a raised deck inside a box. The support needs to make sense when the customer opens the pack, not only when it is photographed empty.
Identify which surfaces can contact the board and which parts must remain clear. Include label placement, caps, fragile details and any accessories. Plan finger cutouts or another way to lift the item without pulling on a delicate component.
A cut and folded platform creates a visible face around the product. Side folds and internal supports help establish its position within the box.
Openings and folded tabs can locate the product at selected contact points. The shape must be sampled around real product variation and the removal method.
Solid-board separators divide multiple items into organized positions. Check the joining method, compartment dimensions and how the full set is loaded.
This page covers solid paperboard or cardstock structures. Corrugated inserts use fluted board and need their own flute, orientation and structural review. The custom insert overview helps compare material families before selecting a detailed design.
Do not select a paperboard insert only by GSM. Caliper, grain direction, folds, support geometry and product weight also influence the result. A thicker sheet is not a substitute for a workable support path. Request the proposed stock and construction in the sample record.
| Input | What to provide | Why it matters |
|---|---|---|
| Product geometry | Maximum outside dimensions, protrusions and manufacturing variation. | Cutouts must account for the complete item, not just a nominal diameter. |
| Product mass & position | Filled weight and upright or horizontal presentation. | Identifies support faces and the way loads reach the outer box. |
| Outer box | Actual internal dimensions, lid/closure and lining. | Insert fit depends on the finished box and its clearances. |
| Loading & removal | Packing sequence, assembly steps and customer access. | A tight-looking cutout can still be slow to pack or difficult to use. |
| Appearance | Visible board faces, printing, color references and coverings. | Finishes and folds need to be reviewed on the intended stock. |
Use actual products where possible, including the heaviest version and the widest normal variation. Check the folds, retention, label visibility, removal and how the insert sits when the lid closes. For a multi-item kit, load all items at once.
An insert that organizes a retail presentation does not by itself establish transit protection. If the pack is shipped, review the whole arrangement—product, insert, retail box, shipping outer and cushioning—and agree any necessary tests.
Some designs use an integrated folded support, while others use a separate insert. The best arrangement depends on the carton, loading sequence, product and material. Review the complete structure in a sample.
Suitability depends on filled weight, geometry, support points and the handling requirement. A paperboard presentation insert should not be assumed to provide all the cushioning a glass product needs.
Provide the full layout and the dimensions of every item. Review the complete set together, including finger access, mixed heights and lid clearance.
There is no single allowance for every board, fold and product. Agree the drawing and test a sample with real products before approving dimensions.
Send the product and outer-box dimensions, weight and desired layout. We can discuss a solid-paperboard structure and a sample for fit and access.
Discuss your packaging project